

Why Some Plants Start Small: Plugs, Starts, and Soil Blocks
Why some plants are sold small and how plugs, soil blocks, and timing support strong growth in the garden.
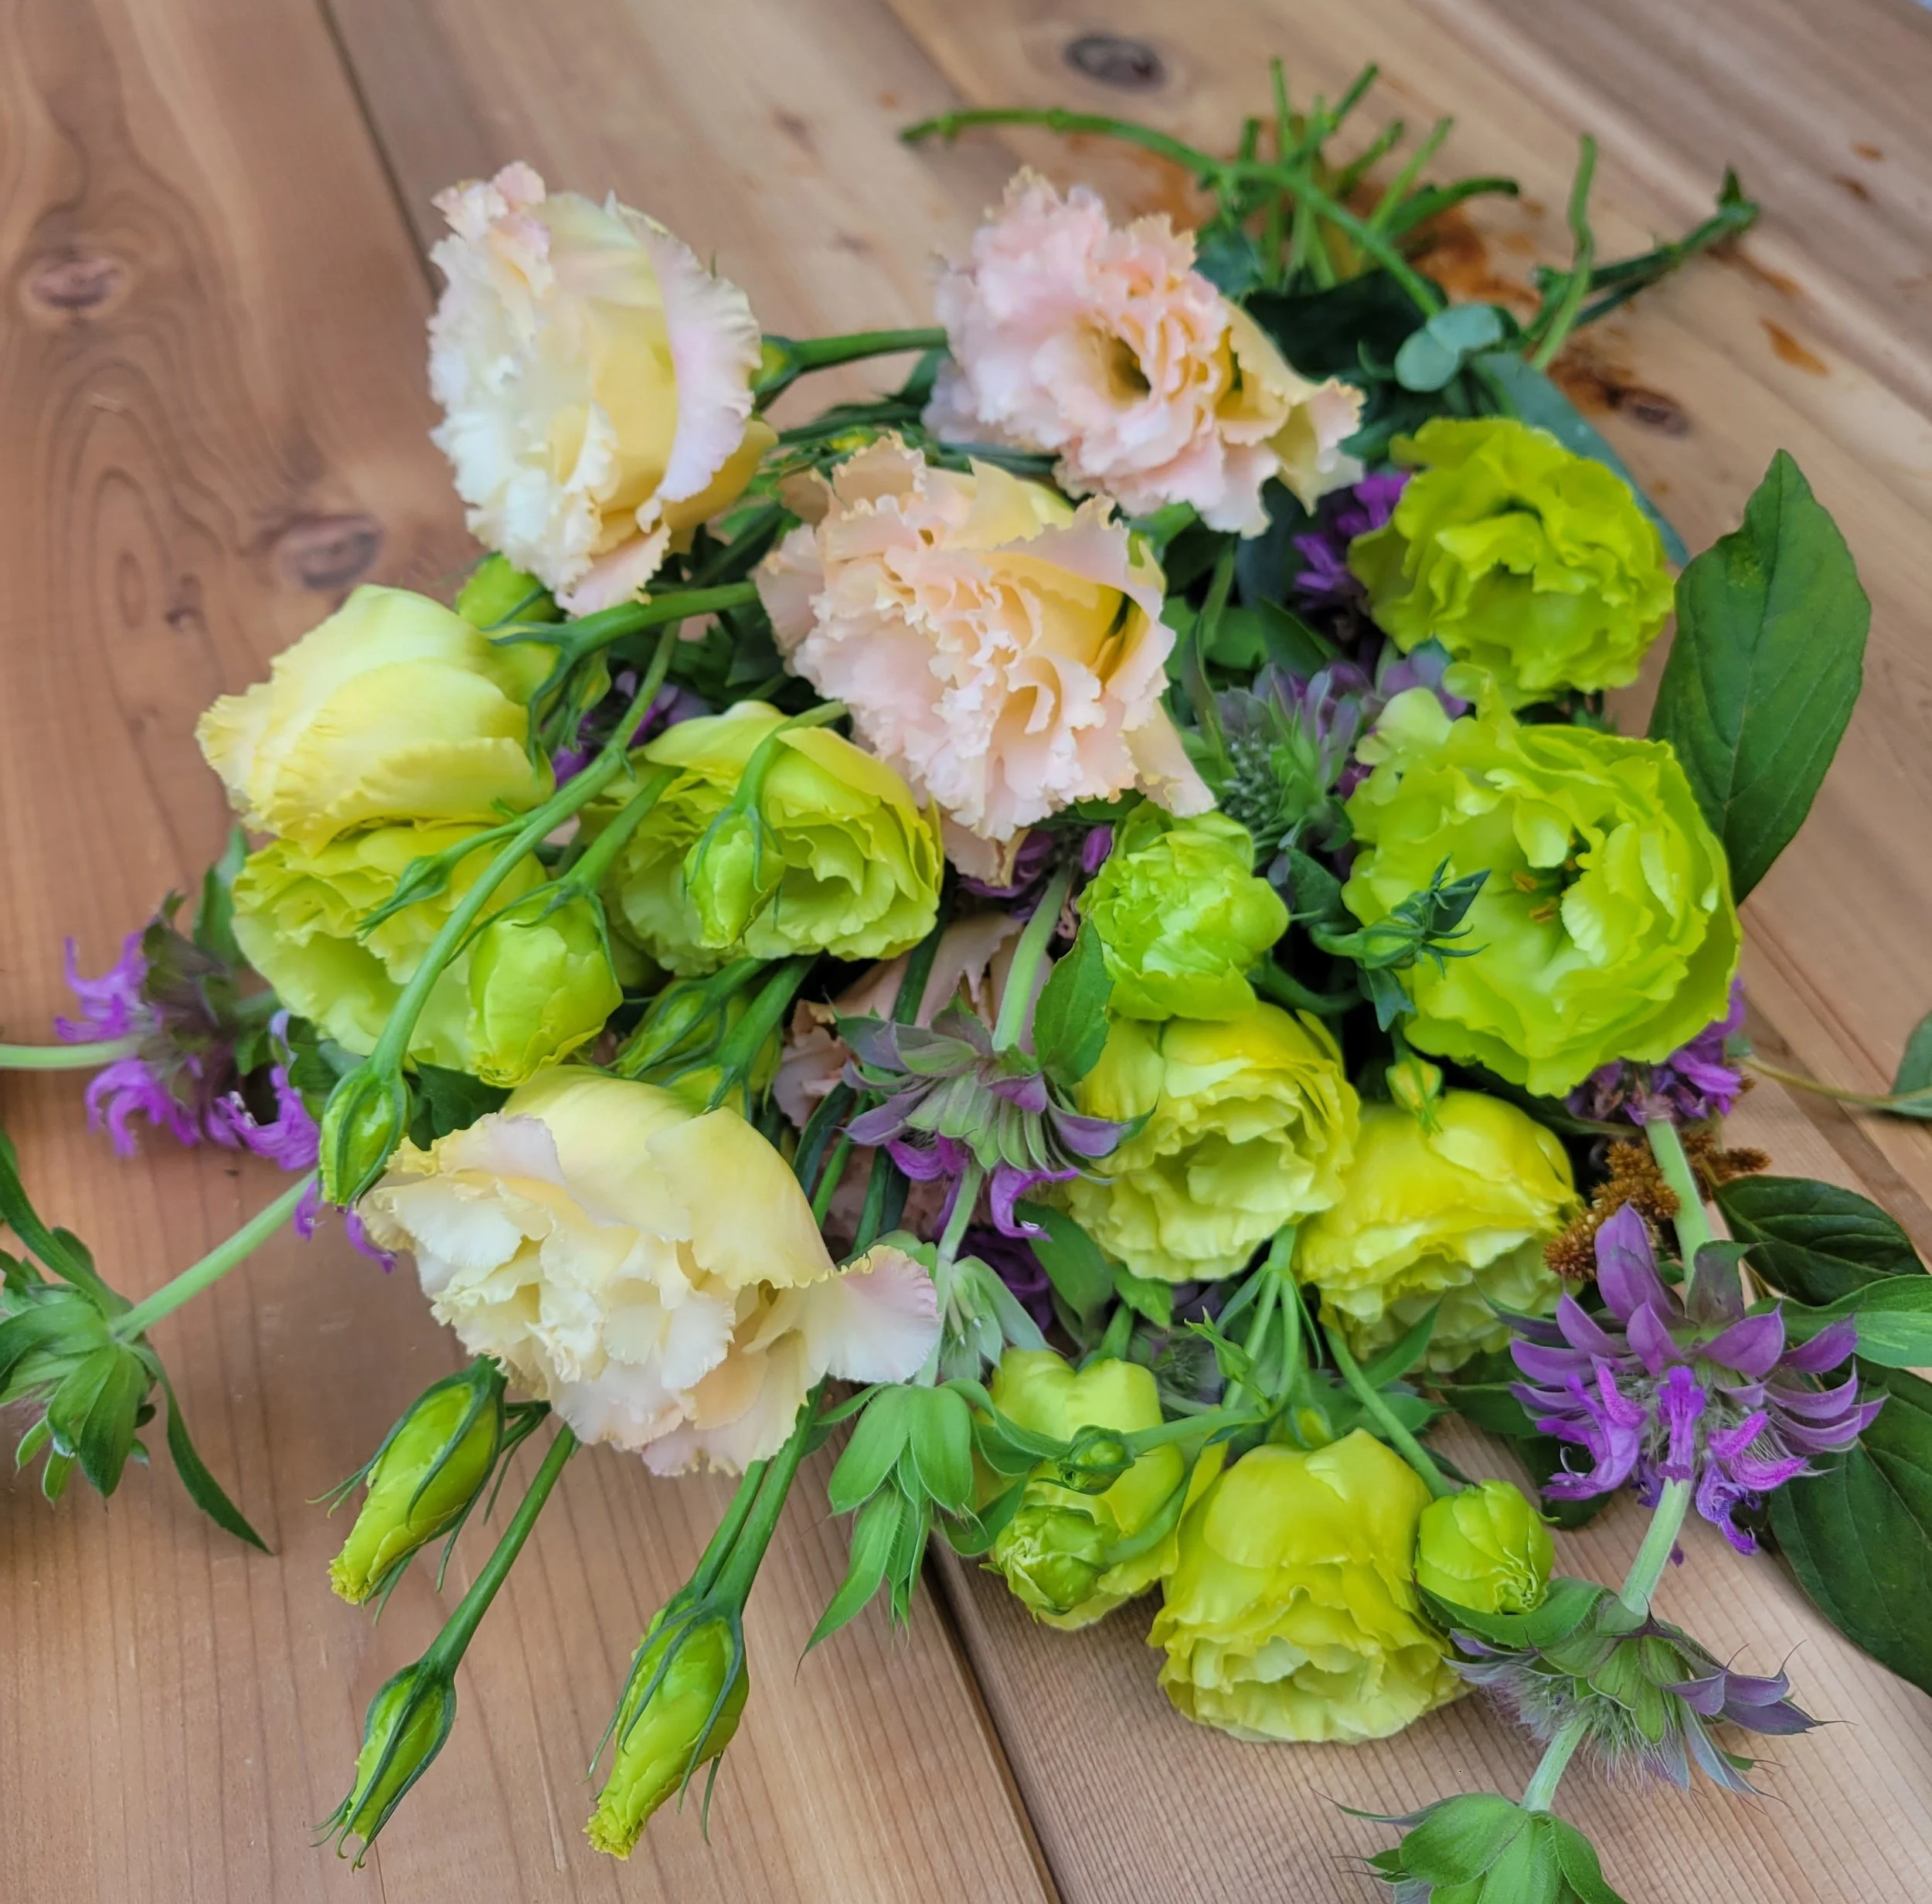
Growing Lisianthus in the Pacific Northwest: From Plug to Summer Bloom
Growing lisianthus in the Pacific Northwest can feel tricky for local gardeners and flower farmers. This guide covers planting, frost tolerance, fertilizing, and harvesting lisianthus from plugs—sharing practical tips from a small Edgewood, WA flower farm to help you enjoy long-lasting, summer blooms in your own garden.

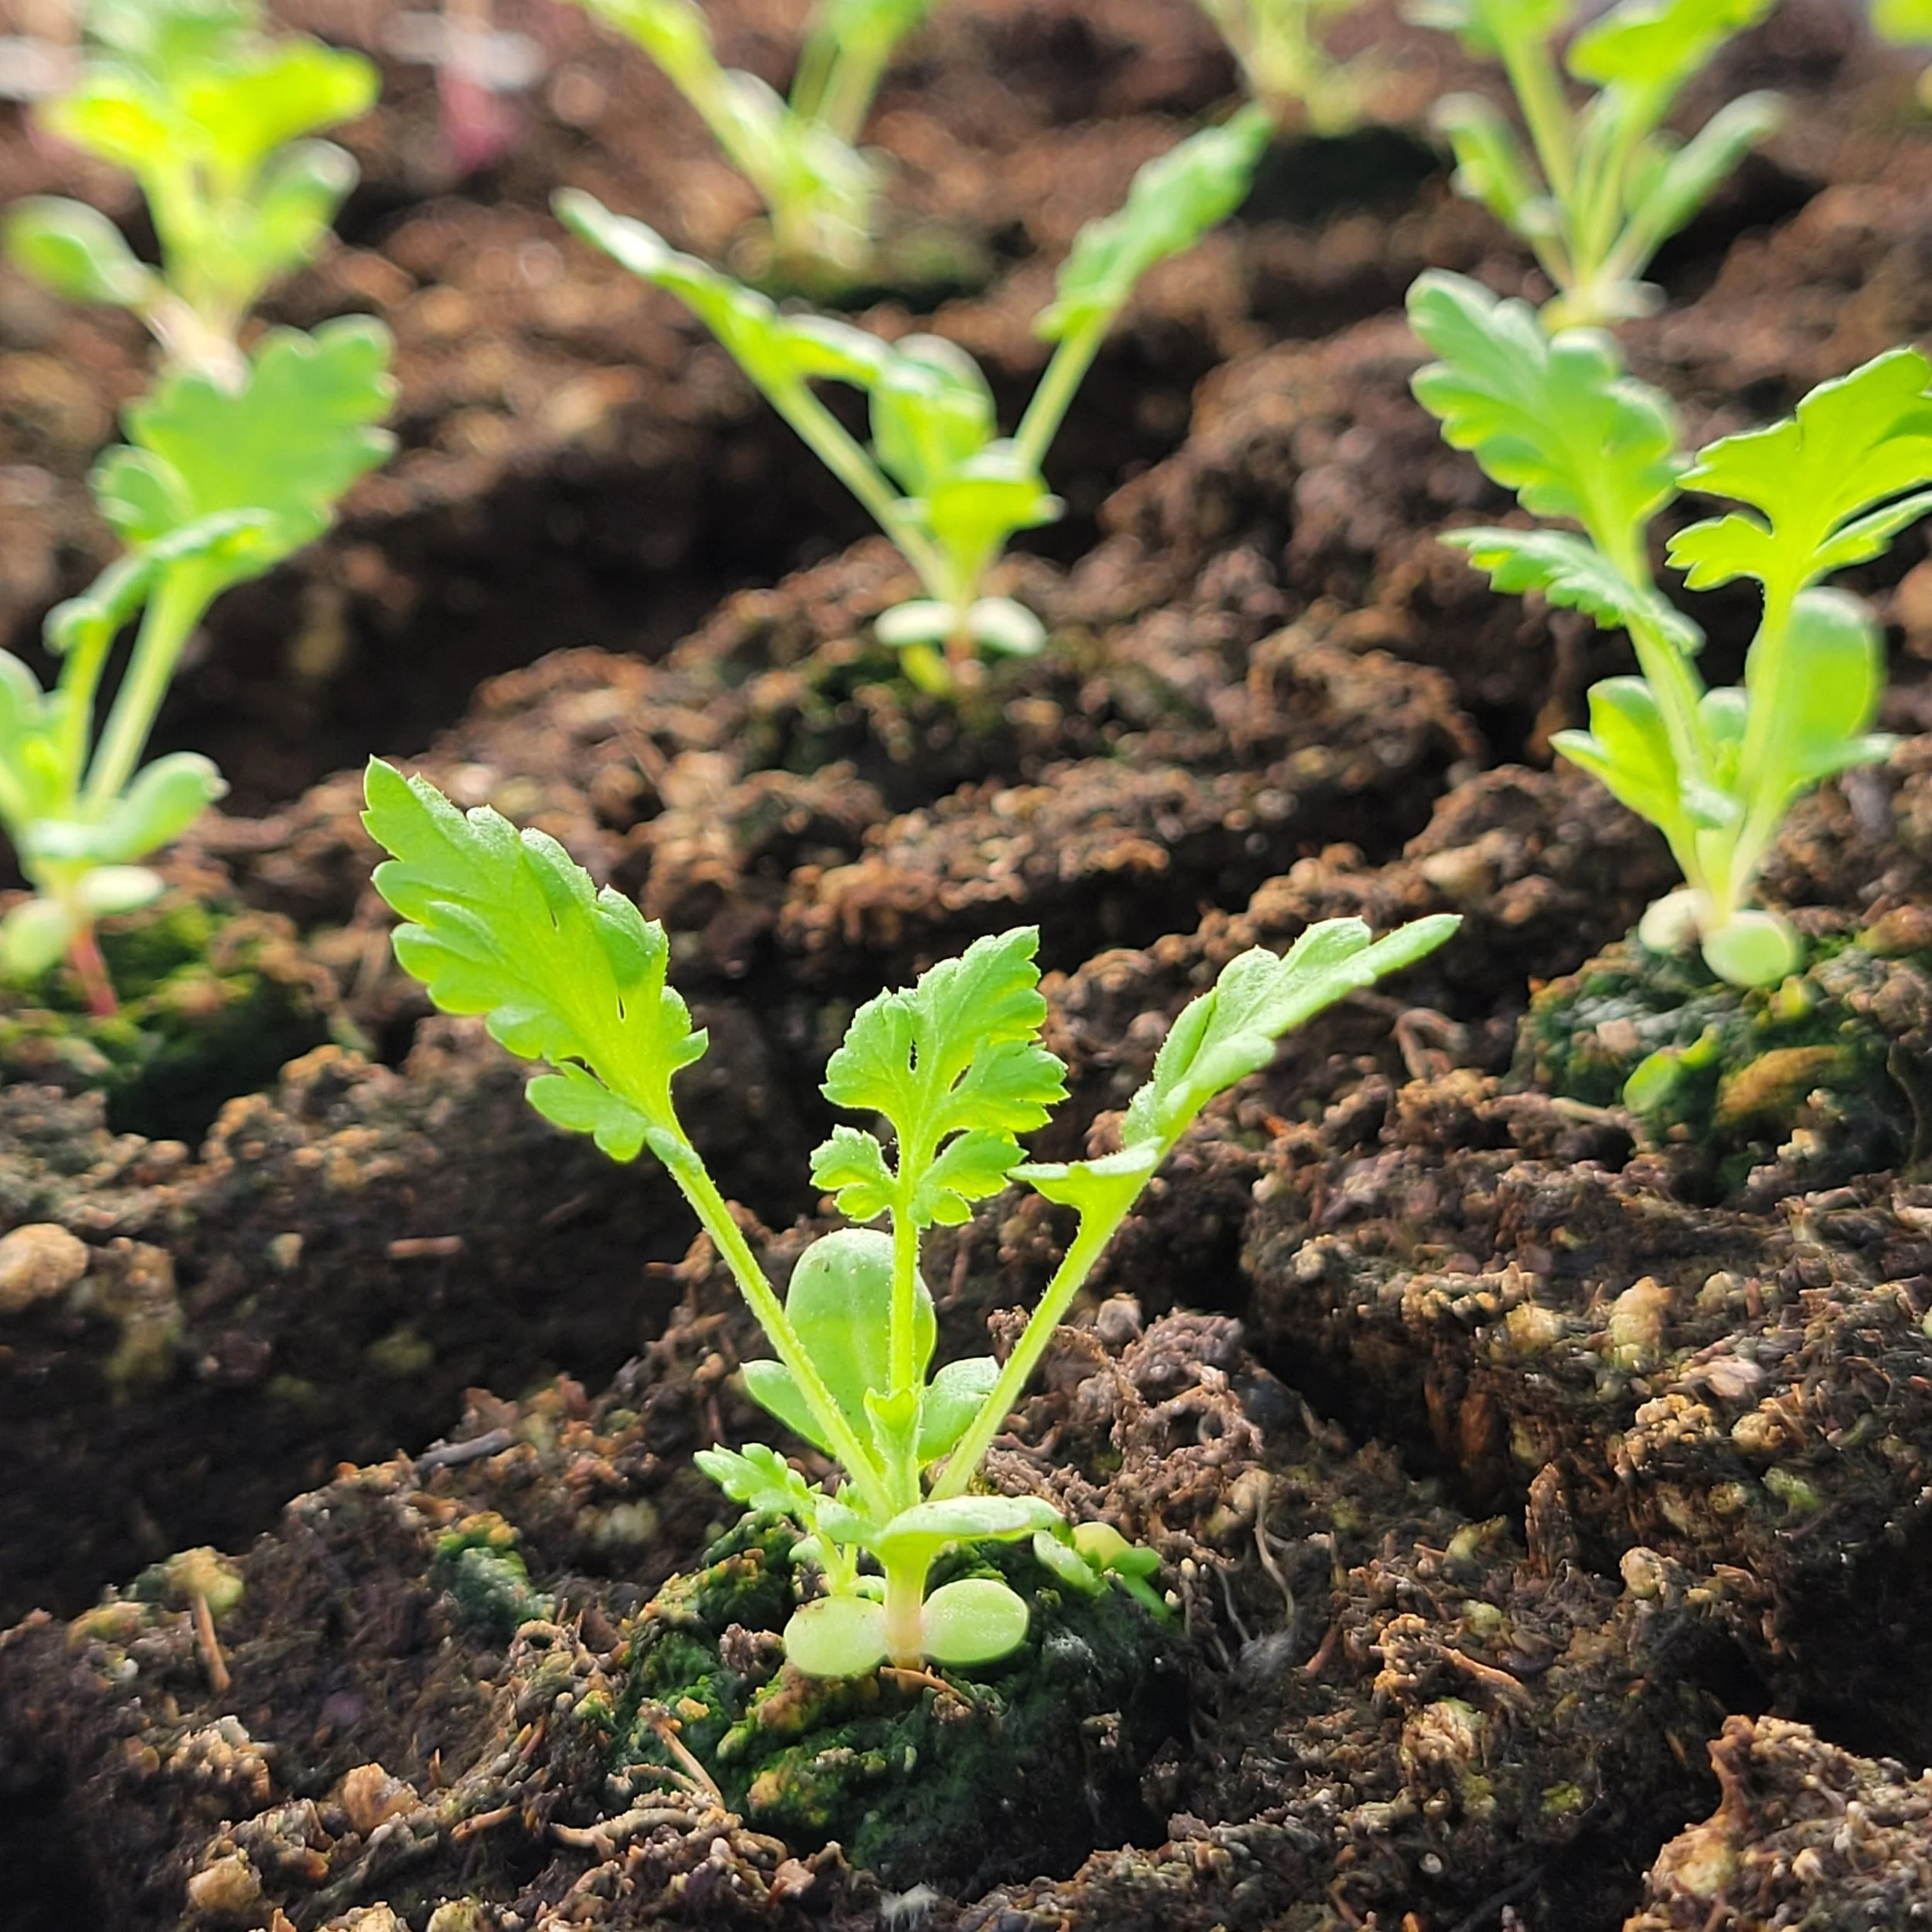
The Art of Growing Lisianthus: From Seed to Plug
Lisianthus may take patience, but the reward is unmatched. Learn how I grow strong lisianthus plugs here in Edgewood, WA, for gardeners across Pierce County and South Seattle.